Kids want to solve real world problems! Wouldn’t you also rather design a solution for a real problem rather than a project for the sake of an assignment?
Under the “New” BC curriculum there is an emphasis on constructivism and inquiry-based learning which begs to be supported by design and building such as that offered by Tinkercad. By encouraging cross-curricular learning in a Makerspace environment, kids can grow their core competencies of critical thinking, problem solving, collaboarative learning, active listening, communication, & creative thinking, through project based inquiry.

Kevin and I are wondering how to carry our cold drink cans with us hands free when we are cycling or camping. Well let’s take a look at the process of brainstorming to design to fabrication to presentation and how this could look in an elementary or middle school classroom.
Here is a suggested process of introducing Tinkercad to your classroom—adapted from Instructables.com.

- Get to know Tools yourself (Tinkercad, +/- Fusion 360, +/- 3D printer)
- It will be easier to help students when they encounter difficulties if you know the program and have already worked them out.
- Set up classroom for tinkercad
- computers, 3D software, internet, +/- mice
- Other useful tools include Makerspace materials, such as clay, popsicle sticks, glue, toothpicks, pipe cleaners, string, recyclable products & blocks for prototyping designs and brainstorming.

- Move from a 2D lens to a 3D lens when looking at your curriculum
- Look for opportunities to enhance learning by linking curriculum topics to core competencies and ASDT curriculum through cross-curricular projects with problem solving and design components.
- Explore with students the tinkercad gallery or Thingiverse (sharing design files) to get started.
- Watch videos of Tinkercad enthusiasts.
- Collaborate with colleagues!
- If another educator has valuable experience in using Tinkercad, ask them to showcase their design knowledge once you’ve scaffolded the students with the necessary factual information.
- Use Makerspace time to expand cross-curricular projects and engage seamlessly with core-competencies. (see Alison Galloway St. Mike’s school)
- Start with a simple project. Don’t overthink it!
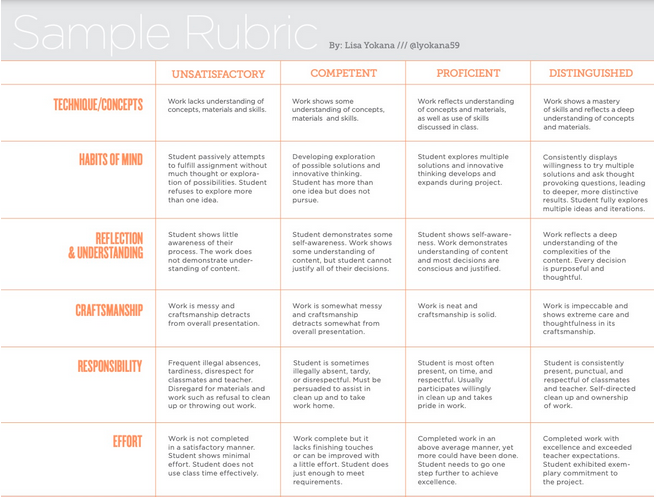
- Don’t write instructions, just co-create a rubric with students so they focus on their own creativity.
- Tinkercad features step-by-step no fail lessons such as: make a ruler & make a clock.
- If groups of students are designing their own board game then maybe only one student is working to make game pieces on tinkercad (while others make the board, writing instructions, etc…)

- Set up a Tinkercad virtual classroom—Tutorial.
- Invite students to join
- Assign projects
- Collects work for evidence of learning
- Suggestions for Tinkercad projects to get you started:
- Design your own game piece or key chain
- Design a board game
- Design a maze
- Map an ideal classroom
- Recreate a lost family memento as a gift
- Design and race balloon powered (vehicles?)
- Solve real world problems (related to science, social studies, or your biggest pet peeve, etc…)
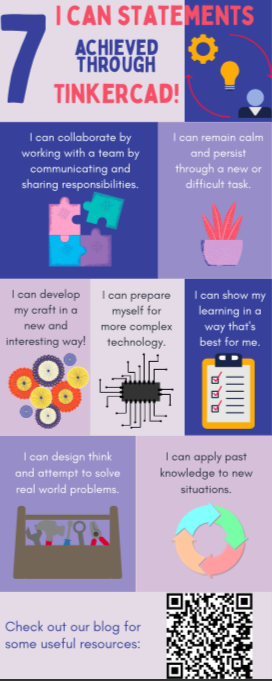
- Check out the Tinkercad blog!

After tinkering is done, be sure to:

- Share student work
- Project presentations
- Idea bulletin board with their designs, or
- 3D printing for displays
- Assess
- Self assessments at each stage
- Drafts by stage (ideas, designs, prototypes, redesigns, final products)
- Cumulative product or display for summative assessment with a brief reflection on the process, the challenges, and what lessons were learned.